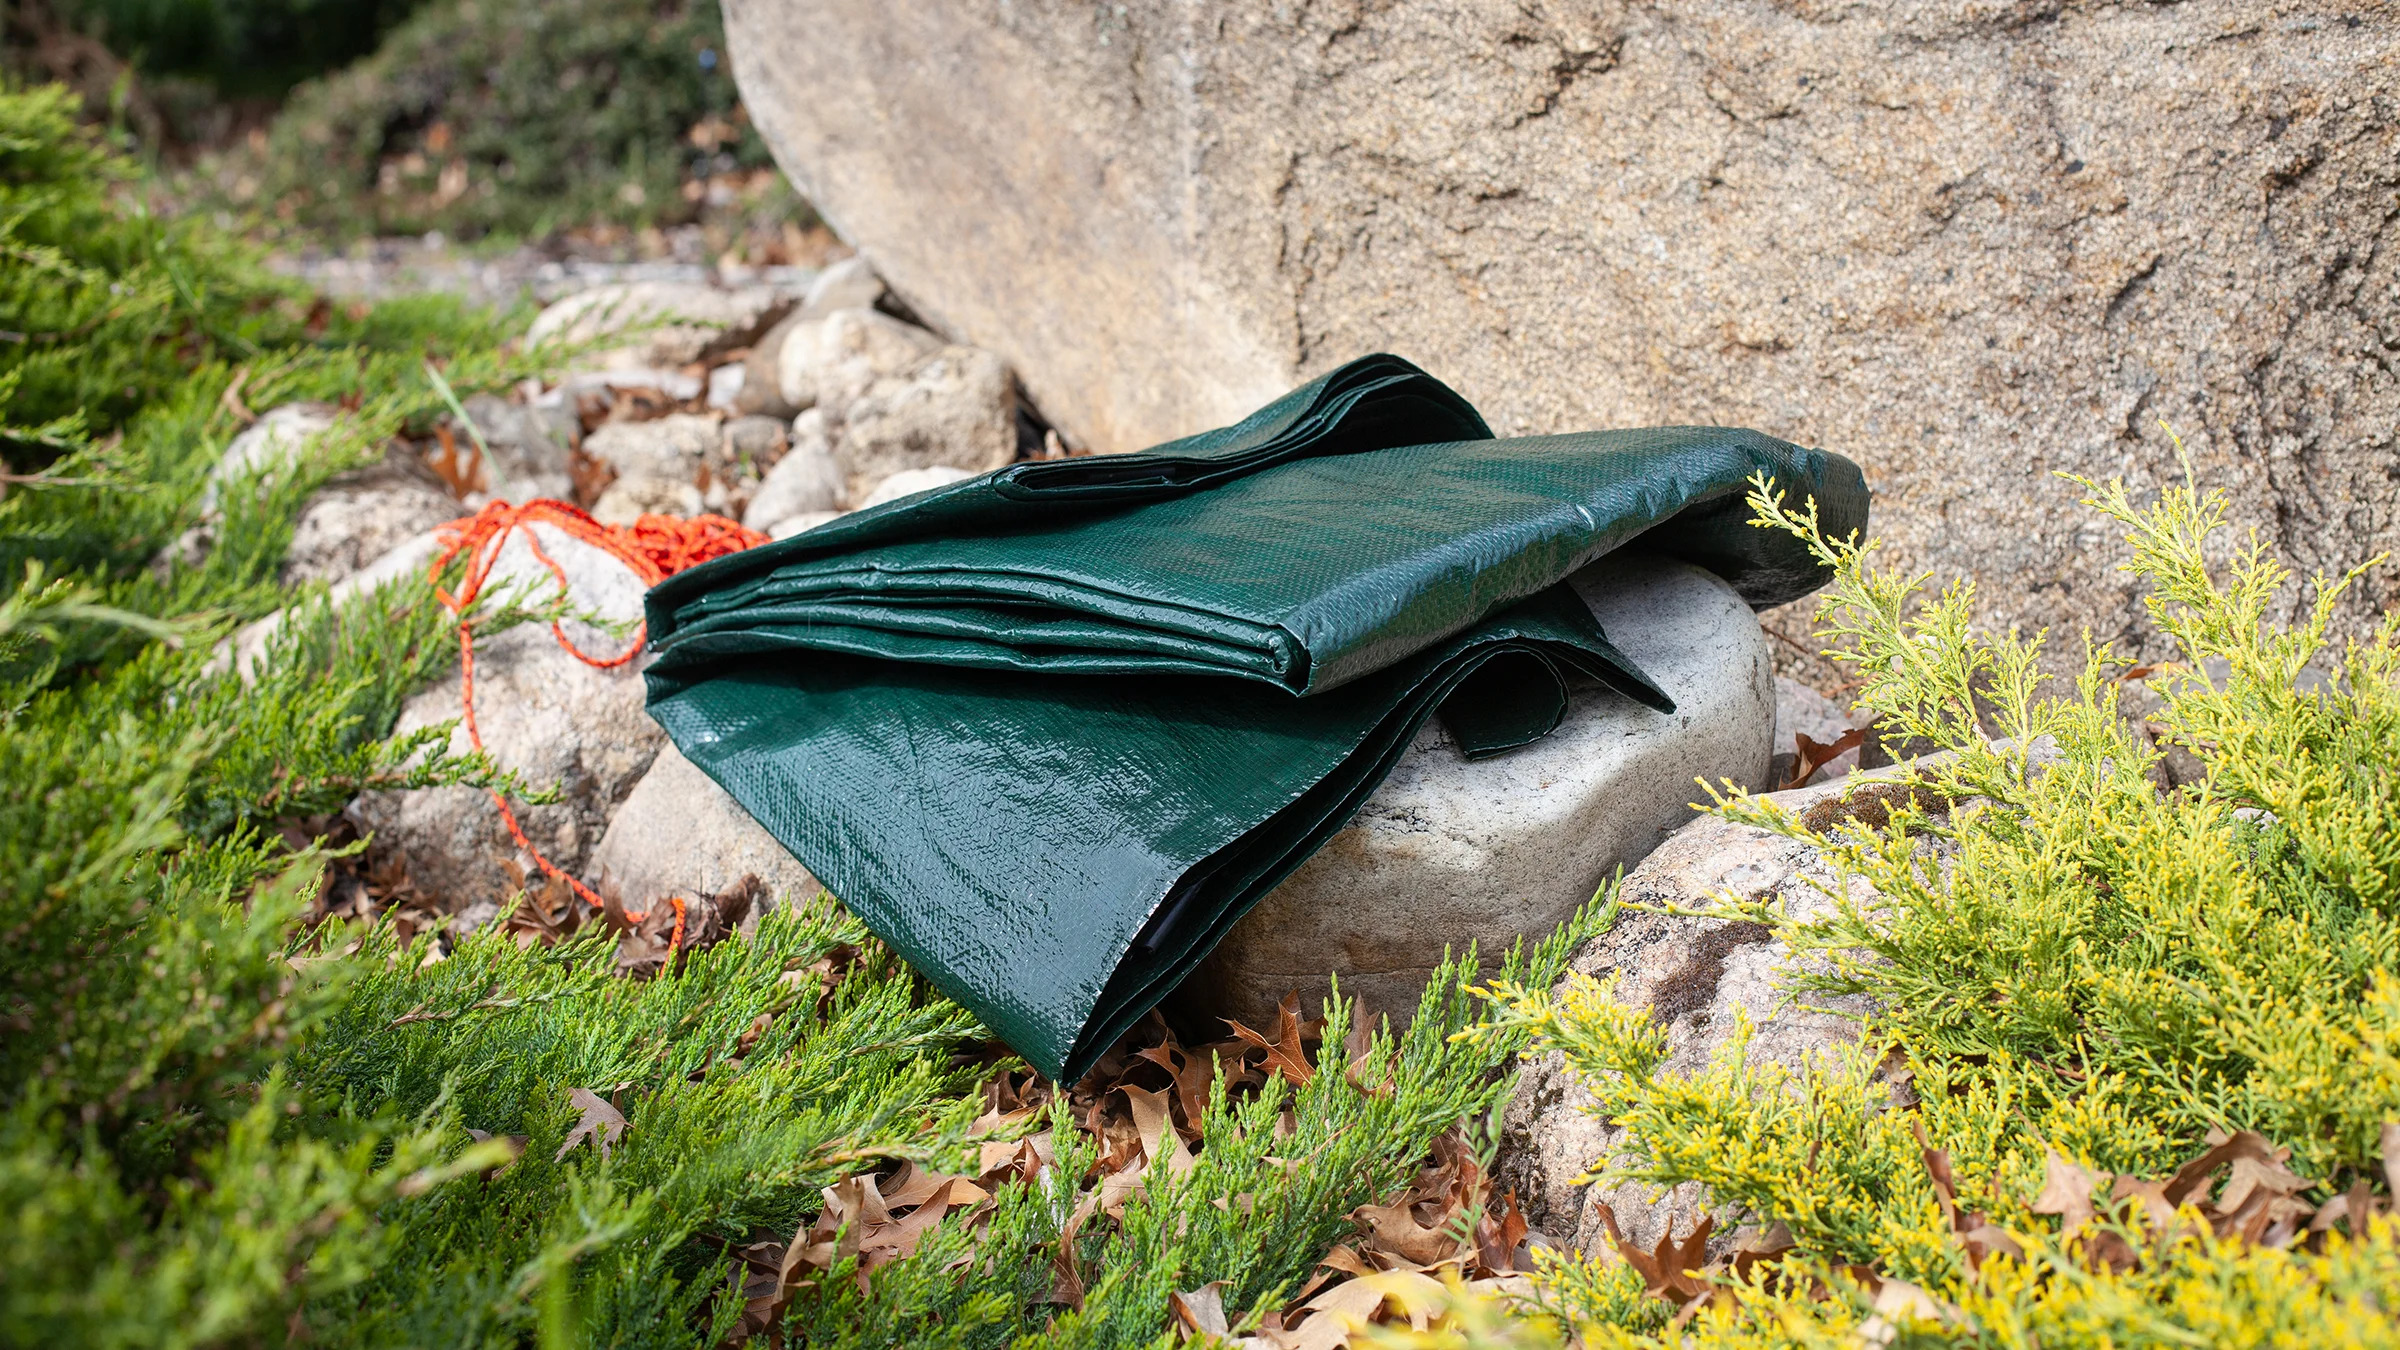
How to Waterproof Tools with Tarpaulin for Storage

Protecting tools from moisture damage is crucial. Exposure to water can cause rust and corrosion on metal tools over time which destroys the tool. It can also cause wood tools to warp or even rot if they get wet. By using Heavy Duty Tarpaulin to create a protective barrier, you prevent these moisture-related issues.
Choosing the Right Tarpaulin
With the benefits of waterproof tool storage understood, selecting the right tarpaulin material is an important next step. There are a few factors to consider when shopping for the ideal tarpaulin:
Material Durability
Will the tarpaulin hold up to weathering over time? PVC tarps are inexpensive but less durable than other options. Polyethylene tarpaulins are thicker, more puncture-resistant, and better for long-term use.
Size
Measure your tool dimensions and available storage space. Oversized Tarpaulins are wasteful while undersized ones don’t do the job. Consider grommet holes or tie-down loops that could help customize coverage as needed.
Features
Optional merits like reinforced corners, integrated ropes/bungees for tensioning, and anti-fungal/UV coatings may suit some needs better than others.
Preparing Your Tools for Covering
Before covering tools, taking some time to properly prepare them helps maximize the waterproofing effectiveness:
Thorough Cleaning
Use a wire brush or sandpaper to remove any loose rust, dirt or debris. For very rusty tools, you may need to scrub with a wire brush and oil. A clean surface allows the tarpaulin to directly contact the tool.
Rust Prevention
Apply a thin coat of oil, grease, or purpose-made rust preventative to metal parts. This forms a protective barrier between metal and moisture. For latex-based sprays, let them fully dry before covering.
Organize Tools Nicely
Lay out tools neatly in logical groupings. Place all sockets or wrenches together, hand tools separately, etc. This makes it easy to locate specific tools when needed. Consider placing larger tools on the bottom for stability.
Label Tool Containers
Use a permanent marker to label individual wrappings. Note tool type/size to avoid confusion later. This helps identify contents quickly without unpacking.
Covering Individual Tools
For tools that require isolation like ones with intricate parts, individual wrapping is best. Here are some tips:
Select Proper Wrapping Material
Plastic sheeting, packing wrap, or small tarps all work well. Look for material that’s thick enough to be water-resistant. Cut sheets to sufficient size to fully enclose each tool.
Thoroughly Wrap Each Tool
For awkward tools, manipulated wrapping as needed. Fold over the edges and tightly seal with tape. Ensure all surfaces and components are fully covered. Twist wires or hoses to tighten and wrap around odd shapes.
Reinforce With Tape
Apply multiple strips of heavy-duty tape along all seams. This forms a secure seal that moisture cannot penetrate. Reinforced tape provides robust protection versus wraps alone.
Outdoor Tool Storage
For tools kept and used primarily outdoors, a few extra precautions are important:
Elevate from the Ground
Place covered tools on wooden pallets, shelves, or sawhorses. This lifts them above potential groundwater sources. Add feet/castors if rolling covered bins outdoors.
Overhang Shelter from Above
Store under eaves, sheds, or tarps to prevent rain exposure. Direct rainfall cannot hit the covered surface directly. Open sides still allow airflow to prevent moisture buildup.
Reinforce Perimeter Seal
Use sandbags, bricks, or lumber strips around the bottom edge. Weight prevents wind from lifting the edges of tarps and bins. Ensure tape/ropes create a continuous protective perimeter.
Inspect Periodically
Check for punctures, especially after storms or high winds. Repair with tape before moisture causes damage inside. Proper maintenance prevents hidden tool degradation.
Also Read: Custom Boxes


